Zhenneng - Stainless Steel Kitchenware Manufacturer & Stainless Steel Cookware Factory For Over 35 Years
Language
Stainless Steel Cookware may seem hard to use initially yet it turns out to be an exceptional choice when cooking various dishes. The Stainless steel durability meets its ability to maintain uniform heat distribution which makes it optimal for frying as well as simmering tasks. In this article, we will provide fundamental information about seasoning stainless steel cookware correctly and avoiding typical cooking errors, and achieving superior outcomes. The various cooking methods benefit from stainless steel cookware since it allows users to make meals with exceptional outcomes.
The reliability of stainless steel cookware remains one of its main characteristics. The material demonstrates strong resistance to rust/corrosion and scratches. The material is best suited for everyday cooking needs. Such cookware lacks any outer coating that could deteriorate. Stainless steel maintains both its durability as well as its original appearance when exposed to long-term use.
Moreover, Stainless steel cookware provides suitable performance for different kinds of culinary preparation. The pan serves wonderful functions in kitchen tasks, ranging from high-temperature searing to low-temperature simmering of sauces. Learning the appropriate techniques for cooking with stainless steel requires practice and good understanding. Proper heat management skills need to be learned by every person.
Stainless steel provides minimal heat conductivity properties. Several high-end stainless steel items in the market include a core element. The standard core material for these pans consists either of copper or aluminum. The heat distribution in these materials becomes more uniform and reaches a better level. The correct management of temperature stands as a fundamental requirement during stainless steel cooking. The pan becomes hazardous to food when it reaches high temperatures. Food will either become stuck or cook irregularly when the temperature remains too low. Preheating your pan before cooking will lead to superior outcomes.
Sprinkling tiny water droplets onto the pan will indicate its current temperature level. The pan is suitable for cooking when water droplets perform a quick sizzle before disappearing. The main process to prevent burning and sticking lies in using an appropriate heat level. A gradual heating process of the pan results in an even coating of oil or fat. Through the non-stick effect, food has less chance of sticking to the pan surfaces.
People need to distinguish between various heating techniques. The process of heating a combination of cold oil and pan requires the oil to heat through gradually. The absorption of excessive oil becomes possible because of prolonged cooking time. The food stays stuck to the pan due to thermal processing. Also, the food does not cook consistently throughout.
Lower oil temperatures tend to lead to faster breakdown of the oil substance.
The best combination for cooking involves heating the pan first before adding cold oil. The pan needs to become hot before pouring oil into it. The oil will eventually create a distinct layer after achieving the right temperature. A natural release of food happens during cooking due to the protective layer. The external surface of meat develops crispness while a protective layer prevents it from sticking to the pan surfaces.
New cooks often encounter a difficulty involving their food sticking to the pan. The pan fails to release food items because it was not heated properly before use. The food will adhere to the pan surface when the stainless steel pan maintains a low temperature. Even cooking quality and uncooperative cleanup become an inevitable problem when these situations occur. The problem of using too much food in the pan at once creates overcrowding. Putting excess food into the pan simultaneously results in temperature reduction. The lack of proper seasoning results from this condition, which causes food to adhere to the pan.
In addition, the improper use of oil causes food to stick because not applying enough oil will result in direct contact between food and stainless steel. When there is not enough fat between the food and the stainless steel, the food stays directly on the surface. The difficulty in relocating this stuck pan makes it challenging to maneuver. A failure to wait long enough before attempting food flips leads to food sticking to the pan. Food can be released from the pan once it develops a natural crust. A sufficient searing process requires waiting before taking any action to flip the food.
Understanding of these problems allows you to prevent sticking. The process of heat preparation combined with proper temperature management and sufficient oil use will help users avoid sticking issues. With repeated practice of these techniques, using stainless steel cooking will become simpler.
Stainless steel cookware is a great option for most cooking tasks. However, beginners may face a few challenges when using it. These include food sticking to the pan, issues with heating, and cleaning. Let’s go over the common problems and how to handle them.
You need to perform several steps before using a new stainless steel pan for cooking.
The first step involves cleaning new pans because they arrive with protective oils, together with manufacturing residue. Use warm water combined with soap to wash the pan until all manufacturing residue is gone.
After washing the pan, use a towel to dry it completely to avoid water stains.
Optional: Seasoning: Some people season their new stainless steel pans. You must heat the pan before pouring a light oil coat on it. The application of seasoning provides a natural, non-sticky surface; however, it remains optional for pan maintenance.
Using stainless steel for cooking demands some experience before achieving the desired results. The following guidelines will help simplify your stainless steel cooking experience:
Heat the pan to its appropriate temperature before introducing oil into it. Effective heat distribution throughout the pan becomes possible when the pan reaches the optimum temperature.
Stainless steel pans demand adequate oil deployment since it prevents food from sticking to the surface. The pan needs enough oil to create an appropriate covering of the pan surface.
Placing excessive food in the pan creates heat reduction which leads to troublesome sticking as well as imperfect cooking.
Food should sear on its own before attempting any movement. Do not disturb the formation of the crust before moving the food inside the pan. When the food is prepared, it will automatically come from the pan surface.
The proper cleansing method enables straightforward maintenance of stainless steel cookware. The following steps will help you maintain the excellent appearance of your stainless steel pans:
Proceed to washing immediately following cooking through the combination of mild dish soap and warm water. The surface of stainless steel requires gentle cleaning materials and avoids both harsh chemicals and abrasive scrubbers that could create surface scratches.
Stuck food in pans needs soaking in warm water with soap for a short period before removal. Clean the food residue through careful scraping using a wooden spatula.
Stainless steel pan restoration requires the application of a commercial cleaner or the creation of a baking soda solution for polishing. Gently buff it with a soft cloth.
The pan needs complete drying because any remaining water can form spots. Let the pan dry at room temperature or wipe it down with a towel.
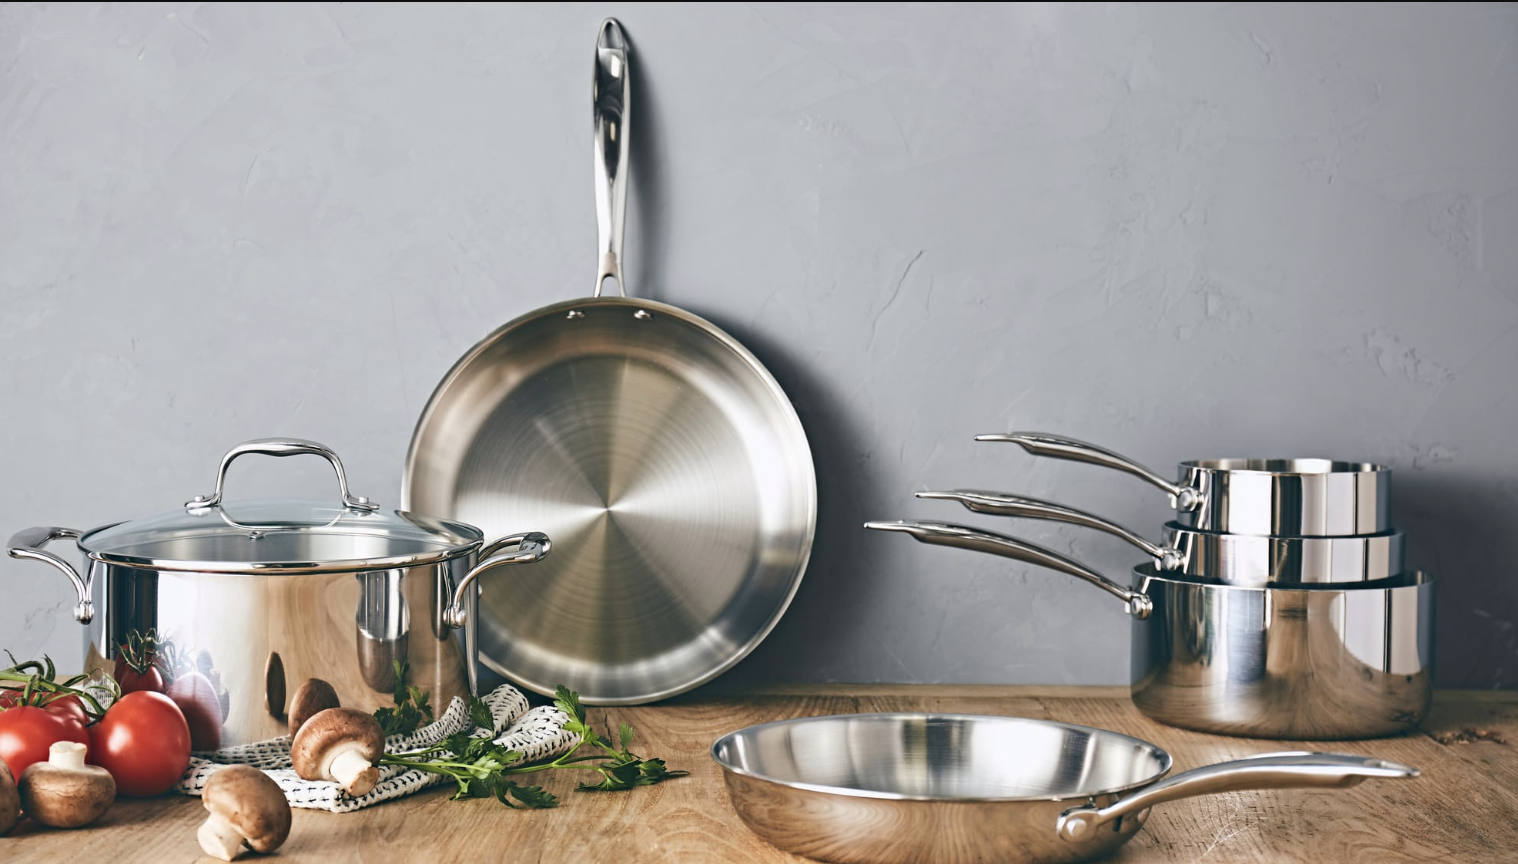
When buying stainless steel pans, there are a few essential features to keep in mind. The pan’s construction, handle design, and size all play a significant role in how well the pan performs. The material used in the pan's layers determines how efficiently it conducts and retains heat, while the handle design affects your safety and comfort during use. Additionally, the size of the pan should match your typical cooking needs and family size.
The bottom of three-layer composite pans consists of stainless steel layers that envelop aluminum or copper core material. The composition of three layers creates improved thermal conduction while distributing heat evenly throughout the cooking surface, thus making it suitable for regular cooking needs. The addition of multiple stainless steel layers along with an aluminum or copper core in five-layer pans increases both heating durability and retention abilities. The high price of five-layer pans delivers improved cooking effectiveness that suits both professional chefs and those who need to handle intense heat.
The selection of a stainless steel pan largely depends on the way handles are designed to ensure comfort as well as safety. Identify handles which have ergonomic designs that ensure safe and comfortable grip control when you cook. The handles in premium-quality pans tend to have hollow construction which ensures they stay cool to the touch so users can handle them without danger. The scalding risks during cooking and pan movement decrease with insulated or heat-resistant handled pans.
The stainless steel pan size needs to align with the typical size of your household meals. A stainless steel pan with dimensions from 8 to 10 inches works best to cook quick dishes serving one or two people, or to fry eggs together with sautéing vegetables. The 10 to 12-inch pan suits medium-sized meals when feeding a small family because it performs many cooking functions, ranging from stir-frying to searing meats. Stainless steel pans with measurements of 12 inches and larger work best when preparing big meals or nourishing large family portions, which include roasts and pasta dishes.
The adequate use of stainless steel pans represents an efficient frying and deep-frying technique. The following steps will guarantee success while avoiding sticky or burnt results in frying and deep-frying procedures.
The first step requires heating the pan before introduction of any oil. A neutral temperature across the pan surface is essential for proper frying therefore proper preheating of the pan is needed. The heating of oil becomes uneven when applied to a cold pan so food may stick or cook improperly. The pan is ready for oil application once drops of water hit it because they will sizzle and quickly evaporate.
A preheated pan needs to be kept at an appropriate temperature during all cooking stages. Very high temperatures during frying create the problem of outer food burn versus internal undercooking. Low heat temperatures will make the food absorb excess oil while becoming soggy. To get crispy, golden crispiness you must sustain an even temperature during cooking. You need to set the stovetop temperature to medium while keeping a close watch on the temperature level.
The selection of proper oil serves a similar importance to oil temperature management. Use canola along with vegetable and peanut oils during deep-frying since they possess high smoke point values. Higher temperatures do not affect these oils since they remain stable during the process. After heating the oil in the pan, you should wait until the right temperature is reached before putting your food inside. The timing of adding oil into the pan determines whether it will burn prematurely or result in greasy output.
Being patient stands as a crucial element during the frying process with stainless steel pans. Moving or flipping the food prematurely should be avoided because it creates sticking to the pan. The food will automatically come go of the pan after forming a natural crust. The food needs sufficient cook time before you should consider flipping it. Submerge deep-fried foods completely into hot oil to obtain an even, crispy texture throughout all sides.
The mentioned four basic steps will enable you to cook successfully with your stainless steel pan. These help you achieve uniform heating and prevent sticking.
Testing pan readiness requires a small quantity of water droplets dropped into the pan cavity. The pan has reached proper heat when water droplets form beads that move with motion across its surface. A pan requires additional heating time because water droplets stay in place when you perform the pre-heating test. However, if the droplets evaporate right away, it signifies that the pan is too hot. Regulation of your cooking temperature depends on this brief water droplet inspection.
When oil reaches the appropriate temperature, it will create an elegant, thin reflective surface that floats on top. The cooking process can begin because the oil temperature is suitable for cooking. Hot enough temperature for oil occurs when it creates a shimmer but starting smoke indicates excess heat. By monitoring the oil surface's shimmer you will determine the optimal time for adding your food.
The proper addition time for your ingredients depends on the oil temperature reaching the right heat level. When the oil temperature is low, the food will soak up excessive amounts of oil. A temperature that is too high for the oil will lead to the burning of your food. You should introduce your ingredients when the oil develops shimmer but does not reach the smoking stage.
The natural formation of a crispy layer indicates the appropriate time to turn food items. The natural separation between pan and food will occur because of this technique. The pan will release the food naturally after its crust turns golden-brown. Flipping too soon should be avoided since it creates the risk of both tearing and sticking occurring.
Stainless steel pans serve as dependable cooking tools which maintain their durability throughout many cooking procedures. Users who properly maintain, clean and cook their cookware will experience consistent outcomes and extended lifespan. Provided you take proper care your stainless steel pans will serve as key kitchen tools throughout multiple years.
Rainbow Pattern Phenomenon: Is it a Danger Signal?
No, the rainbow pattern on a stainless steel pan is not harmful. It occurs due to high heat or oil reacting with the pan’s surface. This is a cosmetic change and doesn’t affect the pan’s safety or performance.
Partial Yellowing Treatment Plan
Partial yellowing happens when the pan is exposed to high heat, especially around the edges. You can treat it by applying a paste of baking soda and water or using a stainless steel cleaner to gently scrub away the discoloration. Rinse and dry thoroughly afterward to prevent further staining.
Emergency Repair Tips for Loose Handles
If the handle is loose, try tightening the screws or rivets that hold it in place. If the screws are damaged, replace them with new ones or use food-safe adhesive as a temporary fix.


LEAVE US A MESSAGE
Zheneng people continue to forge ahead, with the virtuous humanities and exquisite technology perfect combination, full of Unite love of life for you to create elegant, delicate stainless steel daily use and kitchen tableware supplies, With high quality and efficient after-sales service.
Copyright ? 2025 Guangdong Zhenneng Stainless Steel Industry Co., Ltd. - www.csbm2013.com. All rights reserved . ISSN 2024181357-1